How to clean your laptop keyboard at home
The keyboard is constantly subjected to mechanical stress and for this reason more often requires replacement. However, many of its breakdowns are explained by pollution, which means that knowing how to clean a laptop keyboard at home can significantly extend its “life” and get rid of significant expenses for buying and installing a new one.
Choosing a cleaning method
On a stationary PC, getting dirt inside the keyboard can only cause this device to malfunction without harming the computer. In a laptop, the keyboard is built into the case, which means that everything that penetrates under the buttons can get inside the electronic “stuffing”. In this case, the owner can expect serious troubles - from a violation of ventilation, which leads to overheating and spontaneous shutdown of the PC, to the failure of the electronics (motherboard, processor, etc.). Therefore, you need to know how to clean the keyboard on your laptop yourself. It is desirable to carry out this work regularly, without waiting for the appearance of signs of a malfunction of the device.
The choice of the method by which the laptop keyboard will be cleaned depends on the type and degree of contamination.
- Dirt, greasy stains from the hands and dust on the outer surface of the keys do not interfere with the operation of the device, but they greatly spoil the appearance and are simply unhygienic. A cloth and cleaning fluid are required for cleaning.
- If debris and dirt get inside the keyboard, individual buttons will become stuck or not work (not pressed). In this case, more serious work is required to remove dirt from the device.
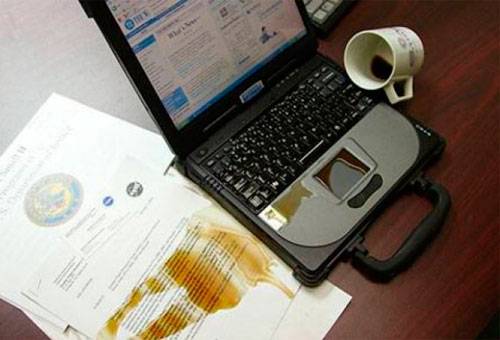
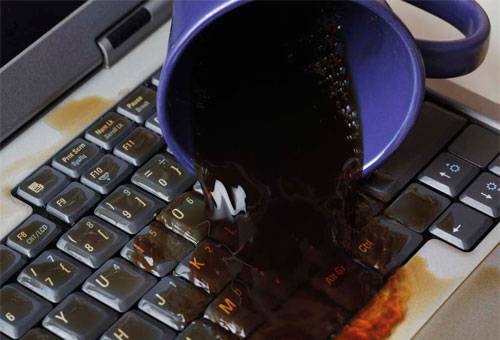
- If tea, coffee, or other liquid is spilled on the device, emergency measures must be taken to save the device and laptop.
Surface cleaning
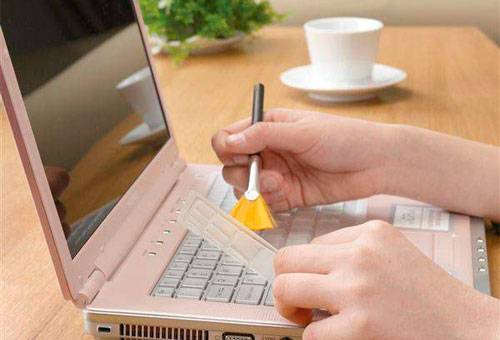
Used in the first case to remove dirt directly from the keys and in the space between them. It is advisable to clean the PC keyboard once a month. The buttons must be cleaned with a soft, lint-free cloth. Using cotton wool for these purposes is not advisable. The space between the buttons is cleaned with a soft brush, in extreme cases - with cotton swabs, but you should carefully monitor that no lint remains between the keys.
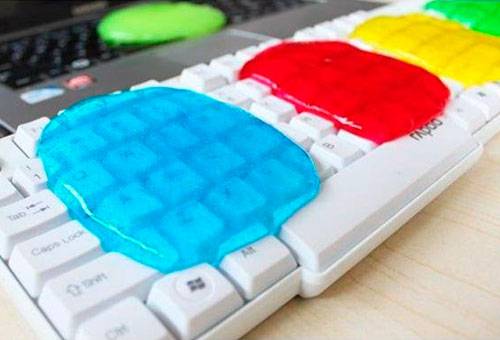
As a cleaning fluid, it is advisable to use special cleaning compounds, for example, Defender gel. But you can do it with home remedies. Diluted isopropyl alcohol is suitable, it cleans plastic well, but not everyone has this substance. There is a universal remedy that everyone has. The keys can be washed perfectly and safely with ordinary soapy water.
Before cleaning the keyboard, the computer must be turned off and the battery removed!
The prepared cloth should be slightly moistened with cleaning fluid, so that its drops could not get inside the keyboard and gently wipe (and not wash) with it all the keys. Moisten a brush or cotton swab with soapy water, be sure to get wet with a napkin, and then clean the space between the buttons. In the end, you need to thoroughly wipe the device with a dry cloth and do not turn on the computer for 20-30 minutes.
Do not use acetone and other solvents for cleaning, as they are able to dissolve (melt) the keyboard and body of the device. Do not wash the buttons with vodka or other compounds containing ethyl alcohol. This very aggressive substance will easily remove dirt, and at the same time paint on the keys.
Regular removal of dirt from the keys significantly extends the life of the device. In addition, the need for deep cleaning will be much less likely.
Keyboard deep cleaning
If garbage and dirt gets under the keys, it is impossible to work normally on the laptop. In this case, thorough cleaning is indispensable. First you should try to remove dirt without disassembling the keyboard:
- With a long-haired brush, clean the gaps between the keys, occasionally turning the laptop over and shaking it lightly.
- Put the laptop down and blow off the keyboard with a hairdryer (cold air)
- Do the same with a portable can of compressed air.
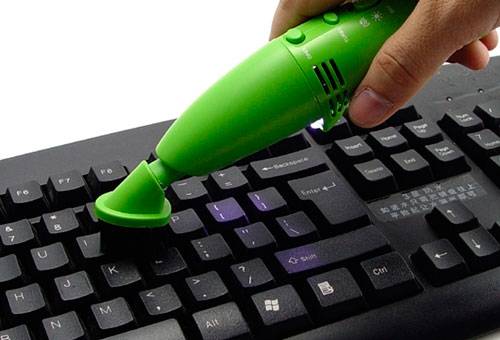
- Use a special miniature USB vacuum cleaner.
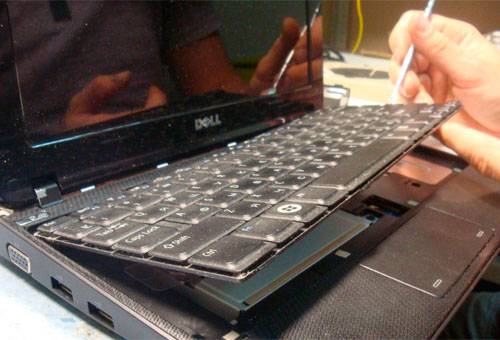
If after the done manipulations the buttons continue to stick or do not squeeze, then you have to disassemble and wash the keyboard. Better to remove it from the laptop. Before you try to dismantle the keyboard, you need to find out how it is fixed in the laptop. In different models, it is differently fixed in the case. Most often, the keyboard is attached using latches. Press the latches with a thin screwdriver, starting from the upper left corner. Having released the upper and sides, the keyboard is carefully pulled out of the case. This must be done very carefully so as not to damage the cable connecting it to the motherboard. By carefully disconnecting the cable, you can begin to disassemble. But before that, the keyboard must be photographed, otherwise it will then be difficult to return the keys to their places. The buttons are removed with a screwdriver, but this must be done very carefully, since their fastenings are quite “delicate”.
After disassembling, the buttons can be washed with soapy water, and the base and contacts can be cleaned with a soft brush. In case of severe contamination, the contacts and gums should be wiped with a cloth moistened with a cleaning solution or soapy water, and then wiped dry. In no case should they be washed.
After cleaning, it is advisable to allow all parts to dry thoroughly, after which you can assemble the keyboard and put it in place.
If after the procedure some keys do not work, then disassembling and washing the keyboard does not make sense, since most likely the problem is not dirt, but a malfunction, and it will have to be replaced.
Every owner of a laptop is able to perform preventative surface cleaning on his own. Complete disassembly and cleaning can also be done independently, but it is better to entrust this work to specialists.