How to glue the tiles so that the coating lasts a long time?
Content:
Experienced craftsmen are not always willing to share secrets on how to glue tiles with their own hands. But repair services are expensive today, of course, many seek to acquire skills and carry out repair work without the involvement of specialists.
Laying Basics and Algorithm
The technology for laying ceramic or glass tiles is quite simple. Using the recommendations of experts, everyone can achieve an excellent result.
The procedure for laying tiles:
- preparation of necessary tools and materials;
- surface cleaning and / or priming;
- laying work;
- tile fitting;
- finishing work.
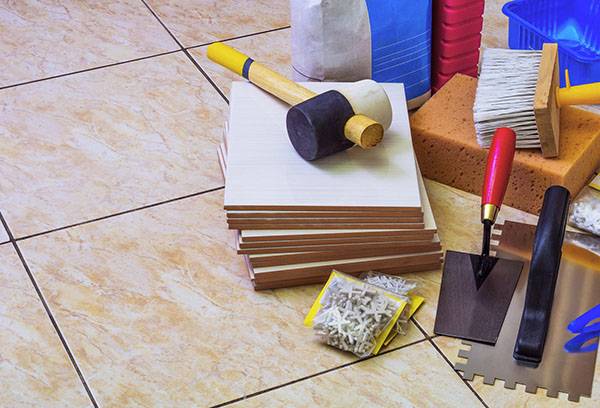
In order to stick tile from glass or glass on your own, in addition to it, you need a number of building materials and tools:
- mortar or glue for laying tiles;
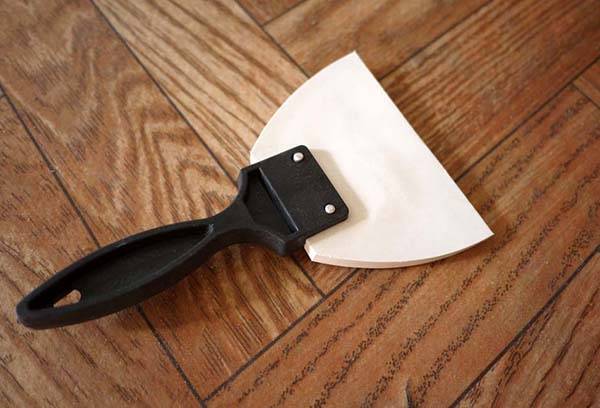
- notched and rubber spatulas;
- crosses for alignment of seams;
- building level;
- mallet;
- roulette;
- tile cutter or glass cutter;
- grout;
- primer.
Surface preparation
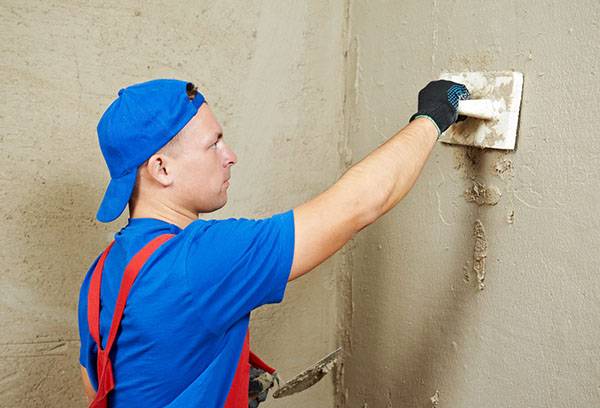
The base for the tile should be carefully prepared, and some types of glue require a perfectly flat surface. If we are talking about walls, then they are leveled and plastered or covered with sheets of drywall. Before gluing the tiles on the floor, lay an even screed, leveling it in level so that there are no differences.
The surface is cleaned of dust, if necessary, grind or putty bumps. Then it must be primed to increase the reliability of fixing the tiles to the base.
Many masters neglect the rules and skip the surface leveling step, intending to compensate for this with a thicker layer of glue. In practice, this is not the best option: if the composition is laid too tightly, the tile will inevitably begin to “float” and “move out”. After the situation is very difficult to fix, all the elements will have to be peeled off and laid again.
Procedure
Before gluing tiles to the floor, experts recommend installing on the walls. Firstly, the glue dries out for at least two days, and if you lay it on the floor, you have to take a long break, wipe the seams and only after that proceed to the walls. Secondly, it is safe, because a tile fragment or a tool may fall onto the floor, which is why the floor covering is likely to crack.
Before gluing the tile to the wall, it should be noted the level of the lower row. A slight indentation should be made from the floor, equal to the thickness of the floor tiles and the adhesive layer. It is better to temporarily attach the rail or put a wooden block - so the wall covering will not slide down.
When using cement mastic, it should be kneaded when all the tools are prepared and the surface is primed, that is, right before the start of work. Do not try to knead as much mass as possible, because it dries relatively quickly.
Tip
Ready-made adhesives are easier to use and do not require preparatory measures.
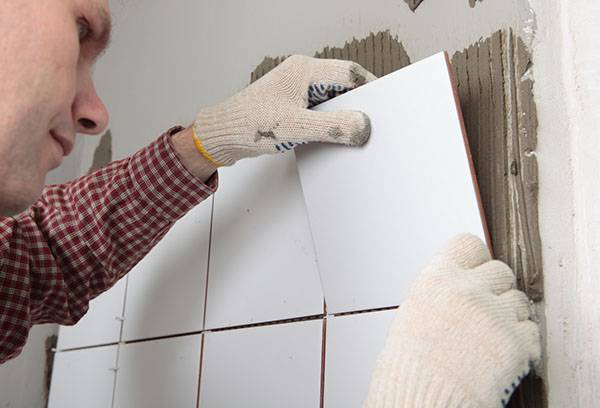
The algorithm for laying tiles:
- apply the finished adhesive mixture to the tile back;
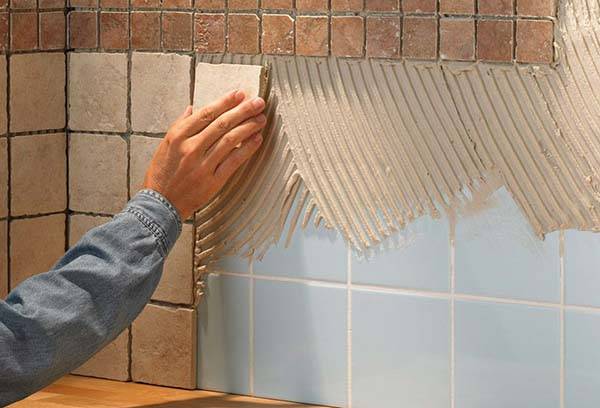
- level the mass with a notched trowel;
- apply tile to the base;
- tap the element with a mallet over the entire area;
- remove excess glue;
- check the slope of the fragments using the building level;
- set crosses, limiting future seam.
When laying tiles on the wall, the width of the seam can be 1, 1.5 or 2 mm, gaps of 2-3 mm are left on the floor between the fragments.
Fragment Trimming
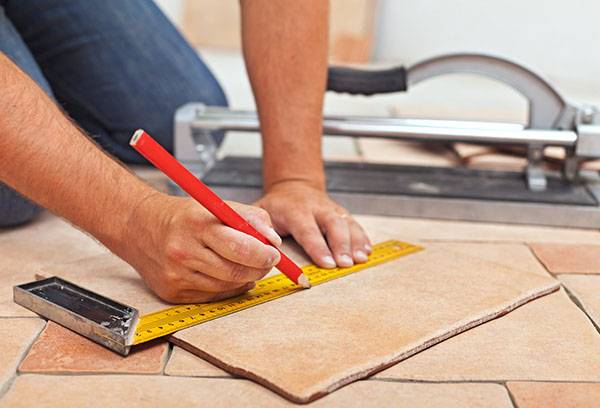
Before gluing tiles to a wall or floor, measure the length and width of the base and plan the procedure. As a rule, when working, trimming of some tiles is always required - such elements should be laid in remote places: under furniture, a bathroom, in distant corners.
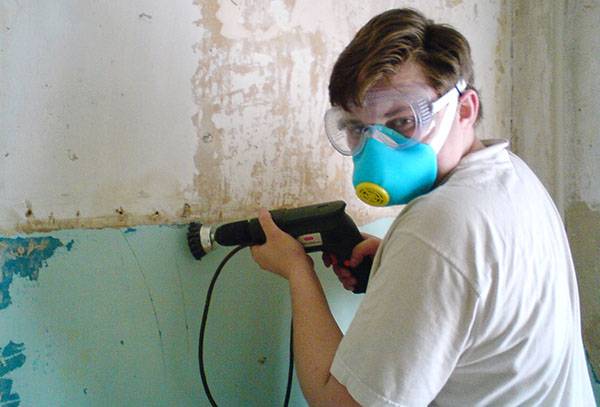
Trimming can be done with a conventional glass cutter, tile cutter or grinder. The last option will be best when working with expensive tiles or when each element is a fragment of a large picture. There is no place for unsuccessful attempts, and only the grinder will make an even cut without chips. The minus of using the tool is the formation of a large amount of dust, the master will need a respirator, safety glasses, work clothes.
When using a glass cutter or tile cutter, there is practically no dust, but in the absence of skill chips are not excluded - part of the tile "will go to the basket."
There are two ways to cut an element:
- hold the mechanism on a decorative glossy surface and gently knock down part with a mallet;
- moisten the reverse side of the tile with water and cut with a tile cutter, after which the excess parts are also knocked down with a mallet or a light hammer.
Round holes can be made with a crown or tiled with a ballerina.
Before cutting, it is recommended to mark the elements on the reverse side in order to trim as accurately and efficiently as possible.
How to lay tiles on a painted surface?
Laying tiles on painted walls is highly discouraged - the installation will be unreliable, and the result will be unpredictable. Most likely, the tile will quickly lag behind or slide.
In order to perform work and glue the tiles in a quality manner, the painted surface should be properly prepared. The procedure depends on the type of paint.
- Enamels are the most difficult types of substrate. The glossy surface has very low adhesion and must be completely removed. This can be done with an ordinary hatchet or with a grinder.
- Water-based paint, like enamel, is removed along with a layer of plaster. Due to the latex contained in it, it can swell and exfoliate in large pieces, therefore laying tiles without preparation is impractical.
- Oil paints are the most unpretentious. The paint can be removed together with the plaster, or it can be carefully cleaned with sandpaper or a grinding machine. Then, nicks with a depth of 0.5 - 1 cm are made over the entire area of the wall and two layers of deep penetration primer are successively applied.
Such events can be called complex and redundant, but only in this way can maximum adhesion be achieved.
Features of mounting tiles on gypsum plaster
Laying tiles on gypsum plaster is a rather time-consuming process. Work can be done only after the base has completely hardened and dried out. Moreover, experts recommend at this stage to check the surface slope using the building level - it should be flat and smooth. Then the surface is primed. As a rule, gypsum plaster is not used in the bathroom or in rooms with high humidity, but if there is no other way, then you need to use a moisture-resistant primer based on resin.
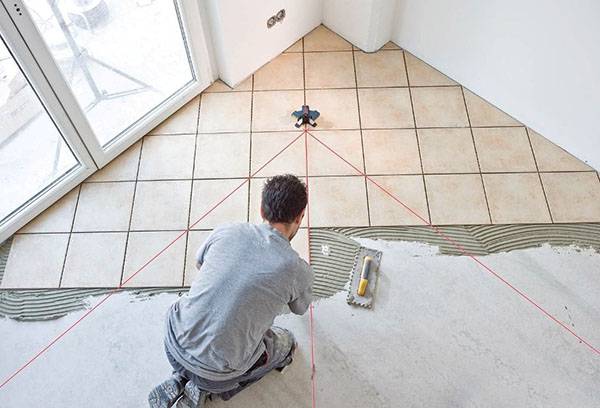
To make each row as smooth as possible, the wall is marked with beacons with wooden choppers. To do this, you need a laser level or level - the equipment draws a vertical, horizontal or cross with a 90 ° angle on the surface.
The optimal length of the metal beacon is 3 m, they are pre-cut to fit the size of the room. Vertically, two holes are made under the choppers. In practice, this method of laying tiles is significantly different from the classic.Installation of beacons is a rather painstaking and time-consuming process, but the installation of tiles will be as quick and high quality as possible.

How to glue tiles to plywood?
Before gluing tiles on the floor, trimmed with plywood sheets, a number of preparatory work should be carried out. The main criterion for installation will be the selection of a suitable adhesive. Dispersion glue is best suited - it holds the tile perfectly even on a moving basis. When choosing another glue, you should familiarize yourself with its composition: it should contain microfiber, silicone, fiberglass or other polymer components.
Plywood sheets are carefully sanded, after which the surface is treated with an antiseptic. In the next step, the base is coated with a waterproofing compound to protect the wood from deformation or deterioration. Such measures are necessary even when laying tiles on a moisture-resistant plywood sheet.
Primed plywood in two stages with a break of several hours. If the work is carried out in a room with high humidity, additional waterproofing will be required - for example, you can use a film.
Tip
If you fix the reinforced serpentine tape over the area, the tile will hold much stronger.
Tile glue for wood is liquid in consistency, so tapping the tile with a mallet is not necessary. Laying starts from the corner if furniture is installed in the room, or from the center in different directions, if the main area remains free.
Grouting
When the area is covered with tiles, it remains to grout the seams - these works are done when the adhesive is completely dry, that is, after two to three days. For the floor, it is better to choose a dark or gray grout: white too quickly loses its aesthetic properties. As a trowel, use a special mixture of the same name, acrylic sealants.
First, the seams are cleaned of dust and debris, remove the remnants of tile glue. Then grout or spread the finished composition, aligning it with a rubber spatula. The final stage carries not only a practical, but also a large aesthetic role: neat seams mask well all the irregularities of the tiles, and careless ones can bend even rows.
Types of adhesives
Glue for tiles is selected depending on the specifics of the work: type of room and type of base. Cement mix, often referred to as colloidal mastic, shows its properties well when laying ceramics on concrete walls. The main components of the composition are cement and sand, diluted with polymer additives.
Glue based on cement is unpretentious in use, the dry mixture is quite inexpensive and diluted with plain water. It is used mainly for internal work. The properties of the composition can be improved - if latex additives are added to it, the glue will become more resistant to moisture. Despite the fact that under the influence of water, cement does not collapse, it intensively absorbs moisture.
Dispersion glue is used when laying when non-standard material acts as a base - wood, plastic, old tiles, plywood, metal or drywall. The high adhesive properties of the composition reliably fix ceramics even on a slippery vertical base, and without prior priming or surface cleaning.
Unlike cement mixes, dispersion glue is sold ready to use and consumed twice as economically, which is somewhat offset by its increased cost.
Also, for gluing tiles on a vertical or horizontal surface, epoxy adhesive is used. This is a very strong composition that quickly crystallizes - if it gets on a tile, it is almost impossible to remove it. The dried mass is not diluted, because the glue is diluted in small quantities and quickly developed. The composition is frost-resistant, does not allow moisture to pass, does not turn yellow, and is resistant to solvents, alkalis and other chemical liquids.
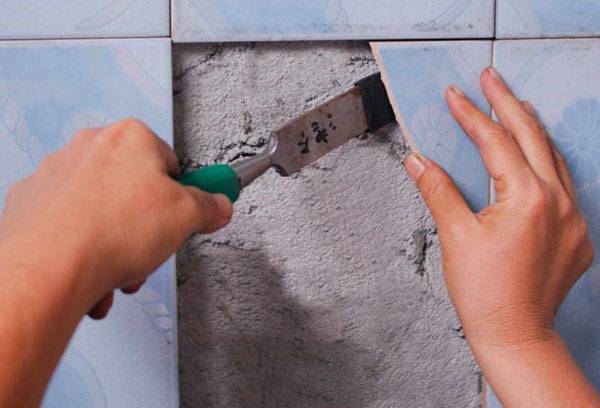
What to do if the tile fell off?
Sometimes users are faced with the fact that one or more tiles lag behind the base and fall out. This happens for various reasons, but more often it becomes the result of a careless attitude to laying technology:
- the formation of voids between the base and the tile (when the void area is 15% or more);
- lack or excess of adhesive;
- mechanical impact - impacts, repair work, in particular the use of a perforator or jackhammer;
- poor sealing of joints;
- wrong type of glue or mounting on an unprepared surface.
Before laying the fallen off tile, it is worth examining the neighboring fragments and determining the reason why this happened. Emptiness will be visible immediately. If the problem is the quality of the composition, it will crumble and crumble, with low sealing, the base will be very wet or moist.
Glued tile can be glued with any composition with high adhesion. Often use glue "liquid nails" for this - many types of this composition are designed specifically for gluing tiles. However, it is unprofitable to mount large areas with liquid nails, one tube costs as much as 5-15 kg of cement-sand mixture. Allowed to use conventional types of glue - based on cement, epoxy or dispersion glue. Mastic for tile is not used in this case, it is applied with a very thin layer on a perfectly smooth surface.